 It’s coming – spring really is JUST around the corner. It’s time to start planning those do-it-yourself projects! Keep reading to learn about some great around-the-house DIY projects that will brighten up your home just in time for spring.
Choose the Perfect Paint Colour
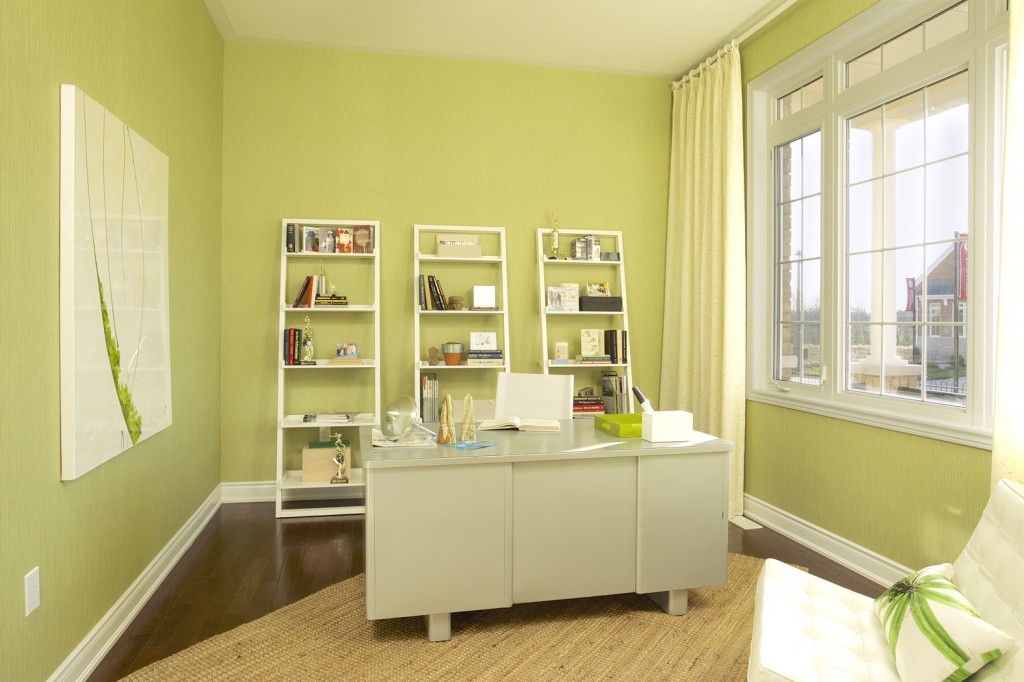
Painting a room is a simple way to change the feel of your home, but there are so many colours to choose from! Where do you start? First, decide what you want the vibe of the room to be. If you want a dramatic, warm room try out a bold red accent wall. If you’re inspired by nature, use Pantone’s Color of the Year, Greenery. Or be inspired by the colours of the world! You’ll love living with colour!
Hang Curtains
Curtains have the ability to completely transform a room. They can bring drama into any room, or it can make the room a lighter, airier space. Hanging up curtains may seem like a no-brainer, but it can be tricky to get them just right. One of our favourite tricks is, when your hanging your curtains, add add 3 to 6 inches beyond the window frame on each side. this will let more light in and make the windows look much larger. For more tips, check our blog about hanging curtains. If you’re feeling extra adventurous and artistic, here’s how to make your own curtains.
Refinish Furniture
Refinishing furniture is a great way to transform an existing room without breaking the bank, and it makes for a great rainy-day project. If you have a piece of furniture you love, or that is sentimental, chances are it can use a revamp. Refinishing is much easier than you think! Start with stripping the old finish off the piece until you’ve fully removed the finish. Next, clean with mineral spirits before removing the rest of the residue. Finally, finish by staining your piece. And voila! It looks as good as new! Here’s a step-by-step guide.
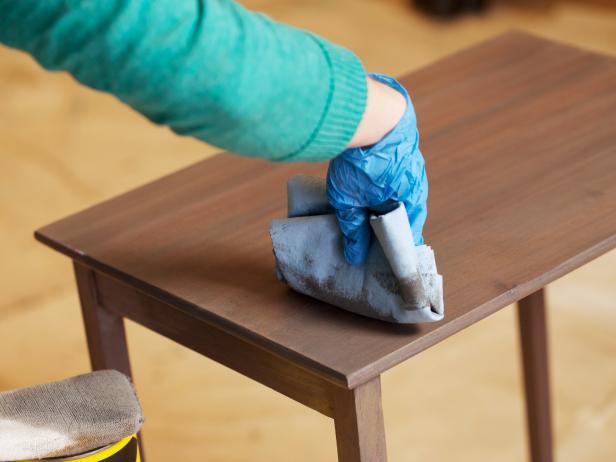
Refinishing an old piece of furniture brings life back into the piece
Upholster a Chair
Another way to change up an existing room is to take an old chair and make it the focal point of your room with a quick update. To re-upholster, choose one of your favourite fabrics and then strip the old fabric from your chair. Cut your fabric panels, and then upholster it to your chair using a staple gun. For the tools you need and more tips, follow this great guide.
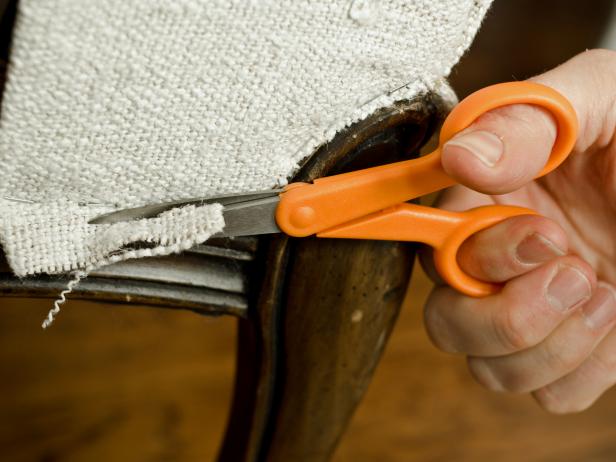
Yes you can reupholster your furniture yourself!
Tile a Back Splash
If you really want a change, add a stylish, timeless feel to your kitchen with a new backsplash. It’s simple to do with help from this Home Depot video! Start by protecting all of your counter tops with a sheet and then tape down edges around the space to protect your cupboards. Sand down the area, and then wipe it clean. Mark a line directly in the centre of the area. Make sure to lay out all your tiles first so you can see what the design will look like and if you need to modify any tiles. Use mastic to adhere the tiles to the wall and use a notched trowel to apply the mastic. Place your first tile along your marked centre line, and then continue to fill your wall upwards using spacers in between each row. Leave the area to dry over night before grouting, and then stain proof and caulk the area. Then sit back and admire your beautiful new backsplash.
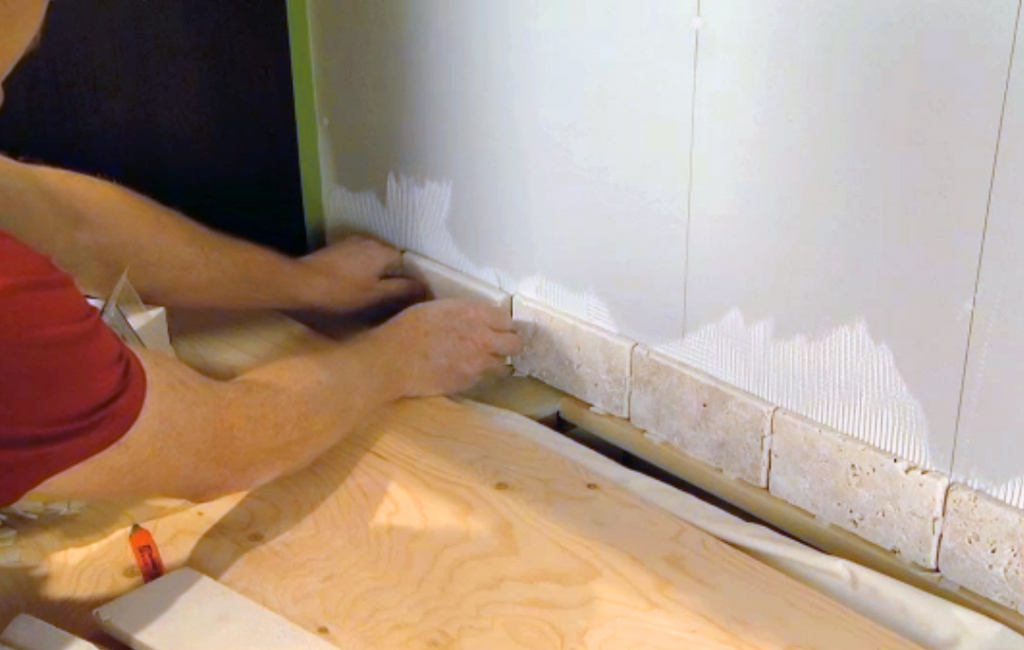
Tiling a backsplash is a DIY project you can take on.
Fix your Leaky Faucet
Do you have a faucet that’s leaky? Don’t let money pour down the drain, it’s a simple fix you can do yourself. First, turn off the water supply. Then remove any decorative part of the tap. Loosen the packing nut with your wrench, as well as the stem – check parts for damage. Replace the washers and O-ring. Ensure these pieces are an exact fit. Then reassemble all of the parts and ta-da! The leak is gone.
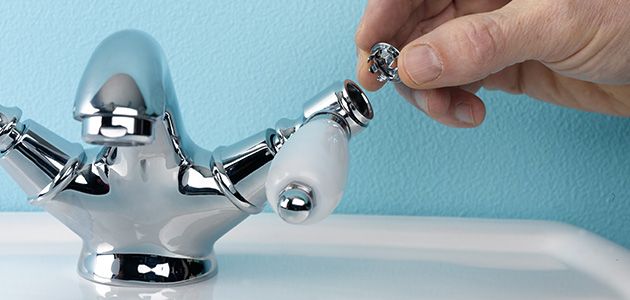
Fixing your leaky faucet is a money-saver!
Do-It-Yourself projects can be tricky, but once they are finished they are very satisfying. Use these tips around the home for great weekend and family projects!


